
My Friends' Much-Loved
Pineapple Upside-Down Cake
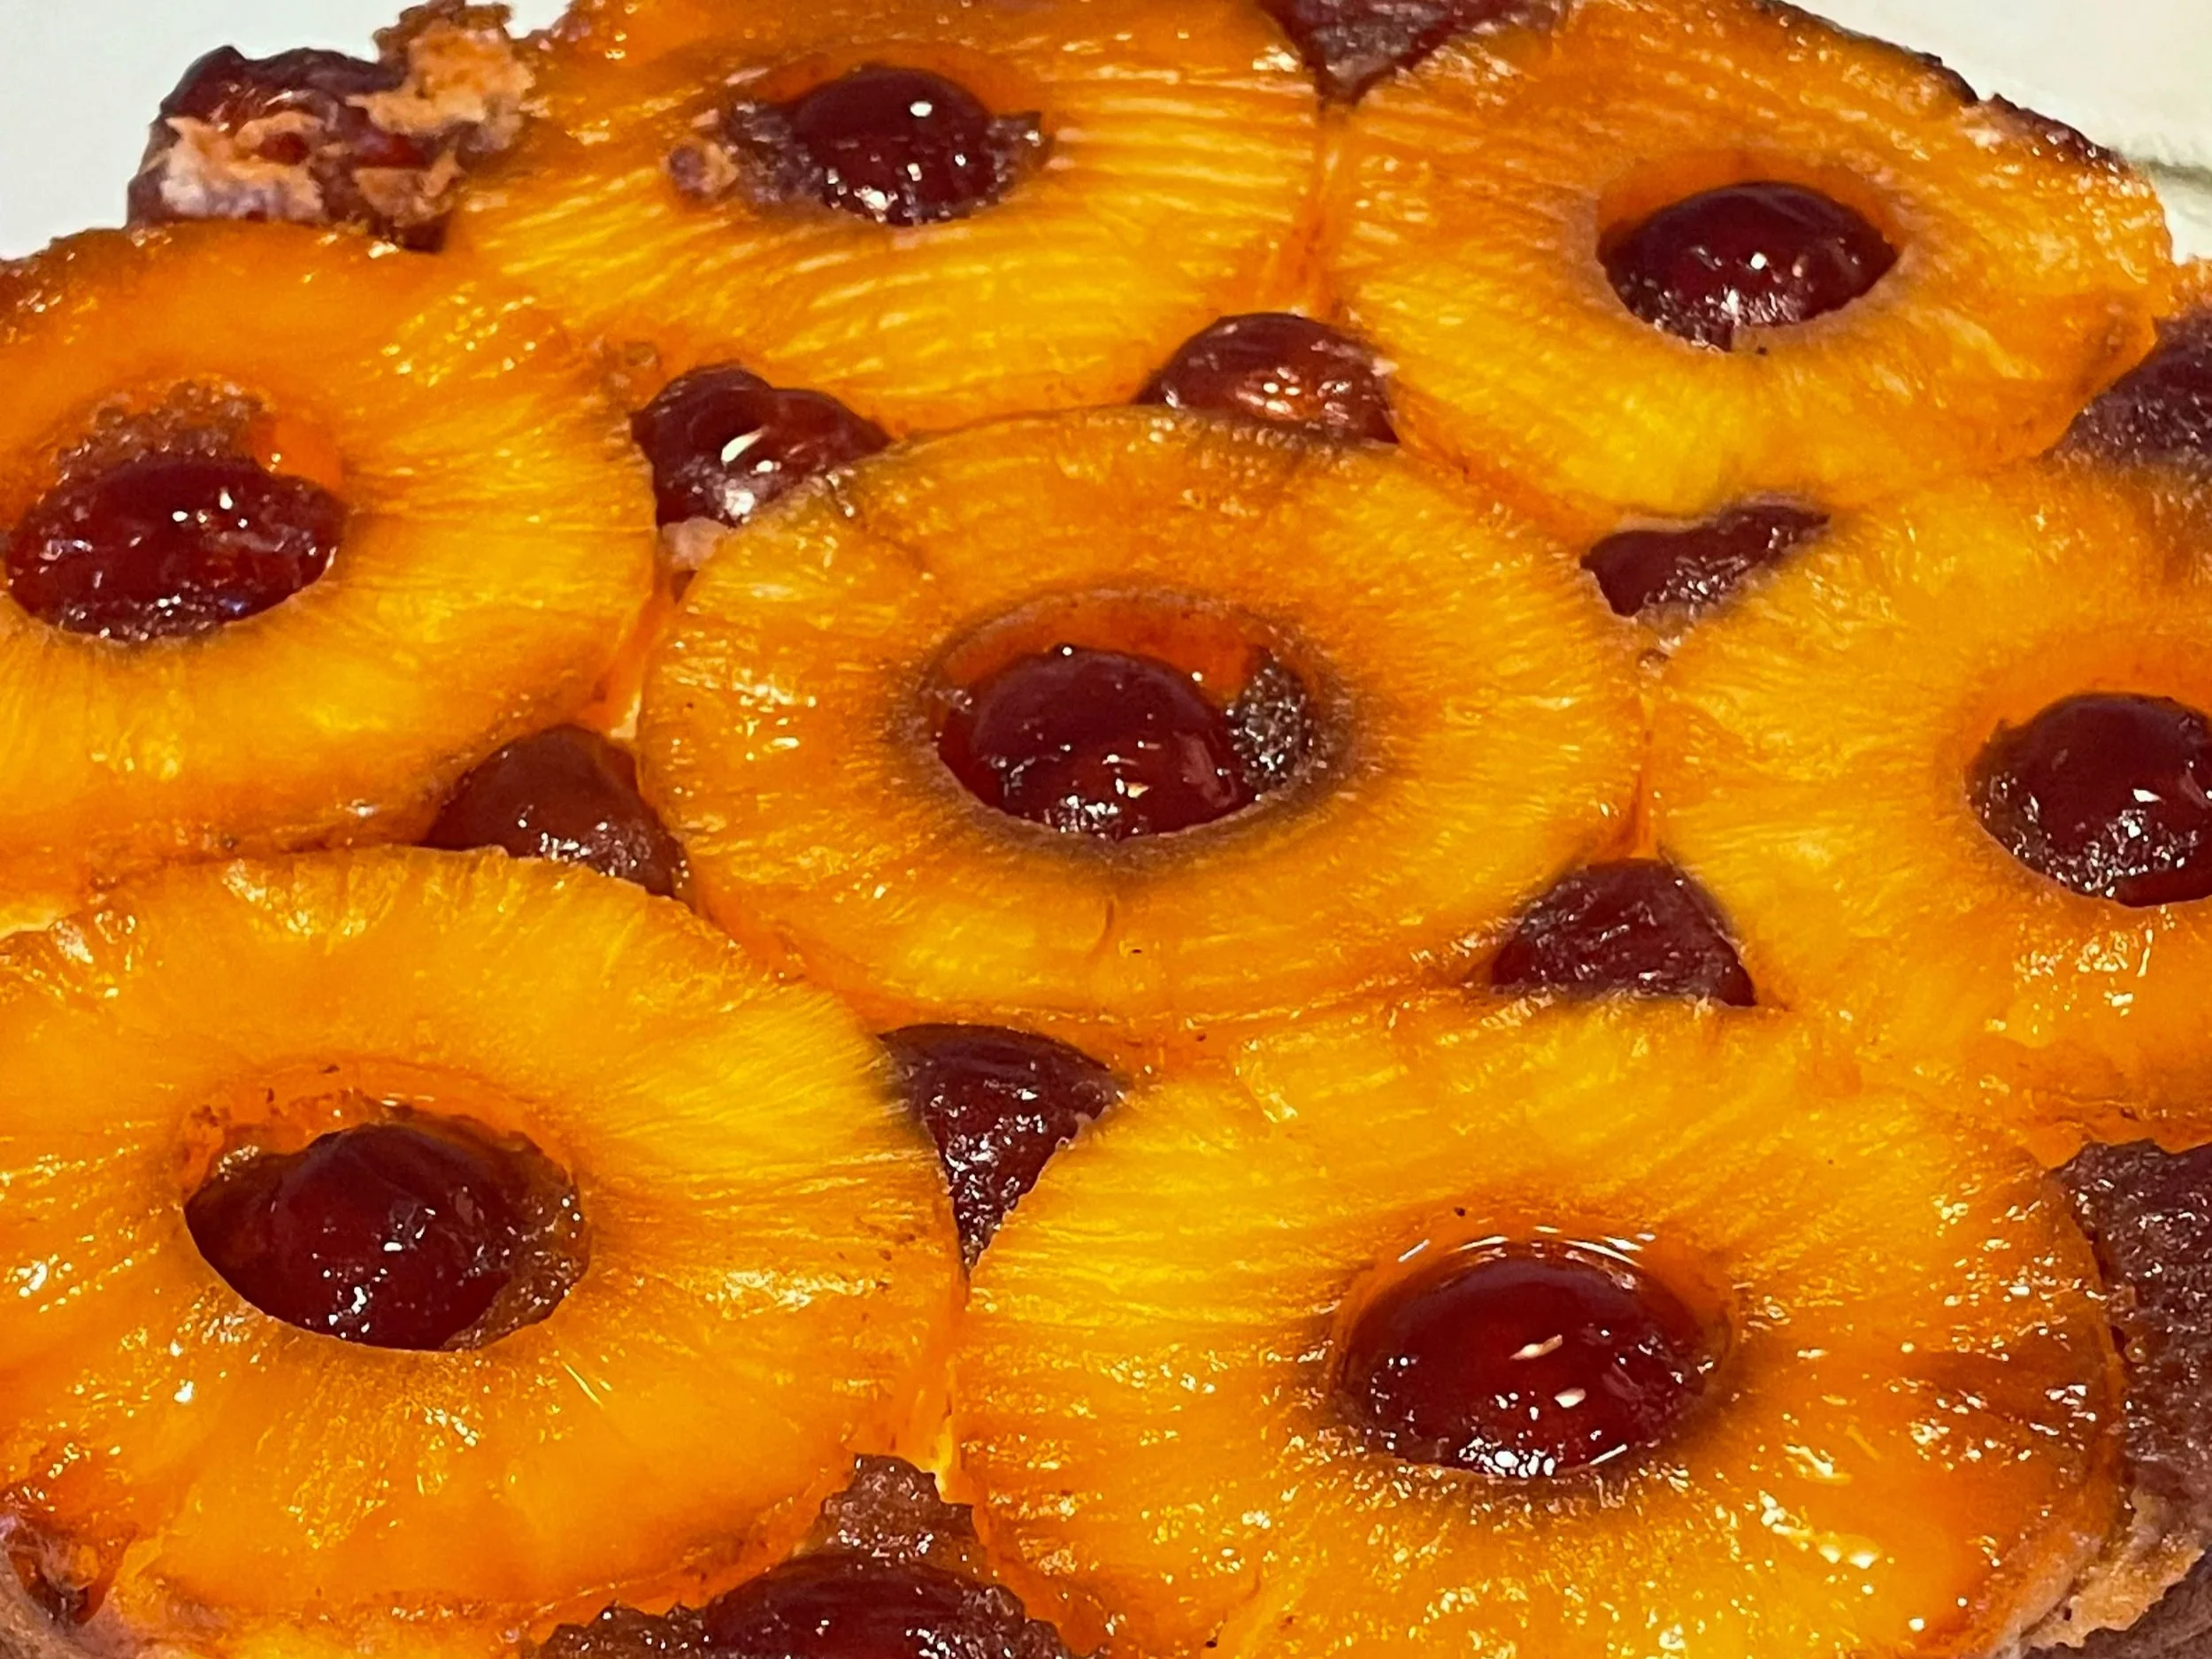
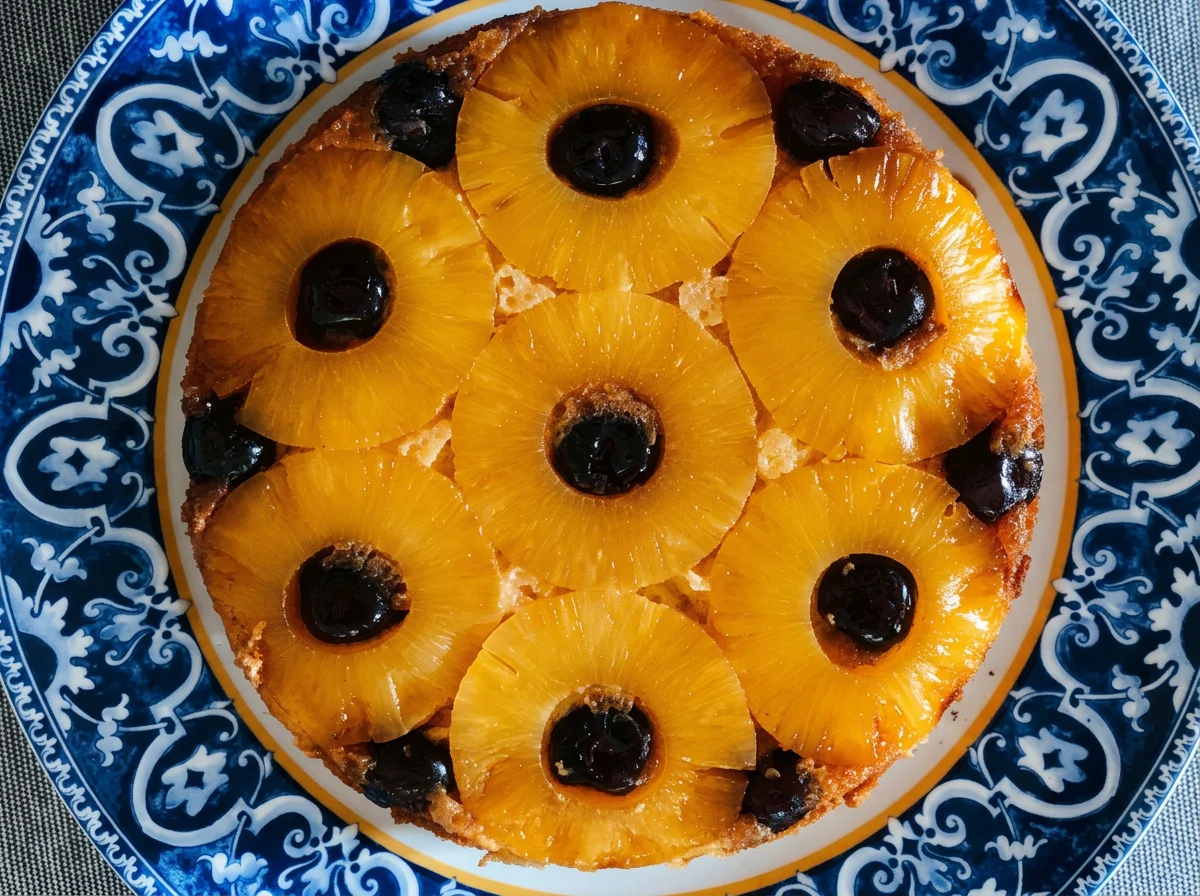
About ten years ago, when on a particularly complex project, a weekend baking tradition soon emerged: every Monday, I would bring a homemade cake to the office to share with my team. Several colleagues were keen bakers themselves, and before long we had our own project "Bake Off". Chocolate cakes appeared regularly, as did fruit tarts and other homemade treats, but this pineapple upside-down cake quickly emerged as the clear favourite.
Even after all these years, it remains closely associated with that special group of colleagues who became lifelong friends. Whenever we gather for a meal, this cake always finds its way onto the table. More than a dessert, it has become part of our shared history. Each time it marks the end of another wonderful meal, it brings back fond memories of long days, hard work and the enduring friendships forged during a memorable chapter of our lives.
Serves: 8 to 12
Ingredients
Butter, as needed, to grease the sides of the tin
Optional: 3-4 tablespoons of brown sugar to line the base of the cake tin (or 150 gr of dark caramel)
1 standard tin of pineapple rings (both the pineapple and the cooking liquid will be used). In the UK, the tin should be about 435 gr total weight, 235-260 gr drained weight, and have 7-9 pineapple rings. For the cake tin below, 7 rings are needed
1 tub of Glacé cherries will be more than enough. The tub is usually 200 gr, but you will only need approximately half of the cherries
7 Large eggs, separated
350 gr of white or golden granulated sugar (a little less can be used)
250 gr of pain white flour sieved (you may not need all of it)
1 teaspoon baking powder
A pinch of salt
Equipment
1 round cake tin, approx. 23cm (must not leak)
Baking parchment
2 large mixing bowls
Electric mixer
1 spatula
Toothpicks
Serving plate
Method
1. Heat the oven to 180°C fan or 200°C conventional. Line the sides of the tin with the parchment and grease them with butter.
2. Optional step: To achieve a golden colour on your pineapple cake, spread the caramel or brown sugar over the base of the tin.
3. Arrange the pineapple rings over the caramel / sugar, all around the tin, reserving the liquid. Place a cherry in the centre of each ring and add a few more for decoration. if you have leftover pineapple, chop it finely.
4. Beat the egg yolks and sugar on high speed for about 5 minutes, until the mixture becomes pale and fluffy. Add 150 ml of the pineapple cooking liquid and beat again on high speed until well combined.
5. Gently incorporate (or fold) the chopped pineapple into the batter using the spatula. Mix in 225 gr of the flour, salt, and baking powder, a little at a time, folding gently with the spatula after each addition. If the mixture seems too liquid, add the reminder flour.
6. Whisk the egg whites until stiff peaks form (make sure the mixer whisks are perfectly clean before using). Using the spatula, fold the egg whites into the cake batter carefully, keeping as much volume as possible.
7. Pour the batter into the prepared tin. Bake for 35 to 45 minutes. After those 35 minutes, start checking with a toothpick if ready; the cake is ready when the toothpick comes out clean and the top should turn a lovely honey‑gold colour.
8. Remove from the oven and keep it in the tin. While still warm and in the tin, poke a few holes with a toothpick. Pour the remaining pineapple liquid over the cake so it stays beautifully moist. Unmould only when completely at room temperature, and it is ready to eat!
Tips:
If you want to add some pops of colour to your cake, you can also add chopped cherries to the batter in step 5.
I like to serve generous slices of this cake with crème fraîche or kefir. Their tangy flavour balances the sweetness perfectly and makes the cake even more enjoyable.
Have You Tried This Recipe? How did it go?
I'd love to know how it turned out. Your comments help me improve the recipes, timings and instructions while this website is still in construction. Click to share your experience