Pistachio Swiss Roll
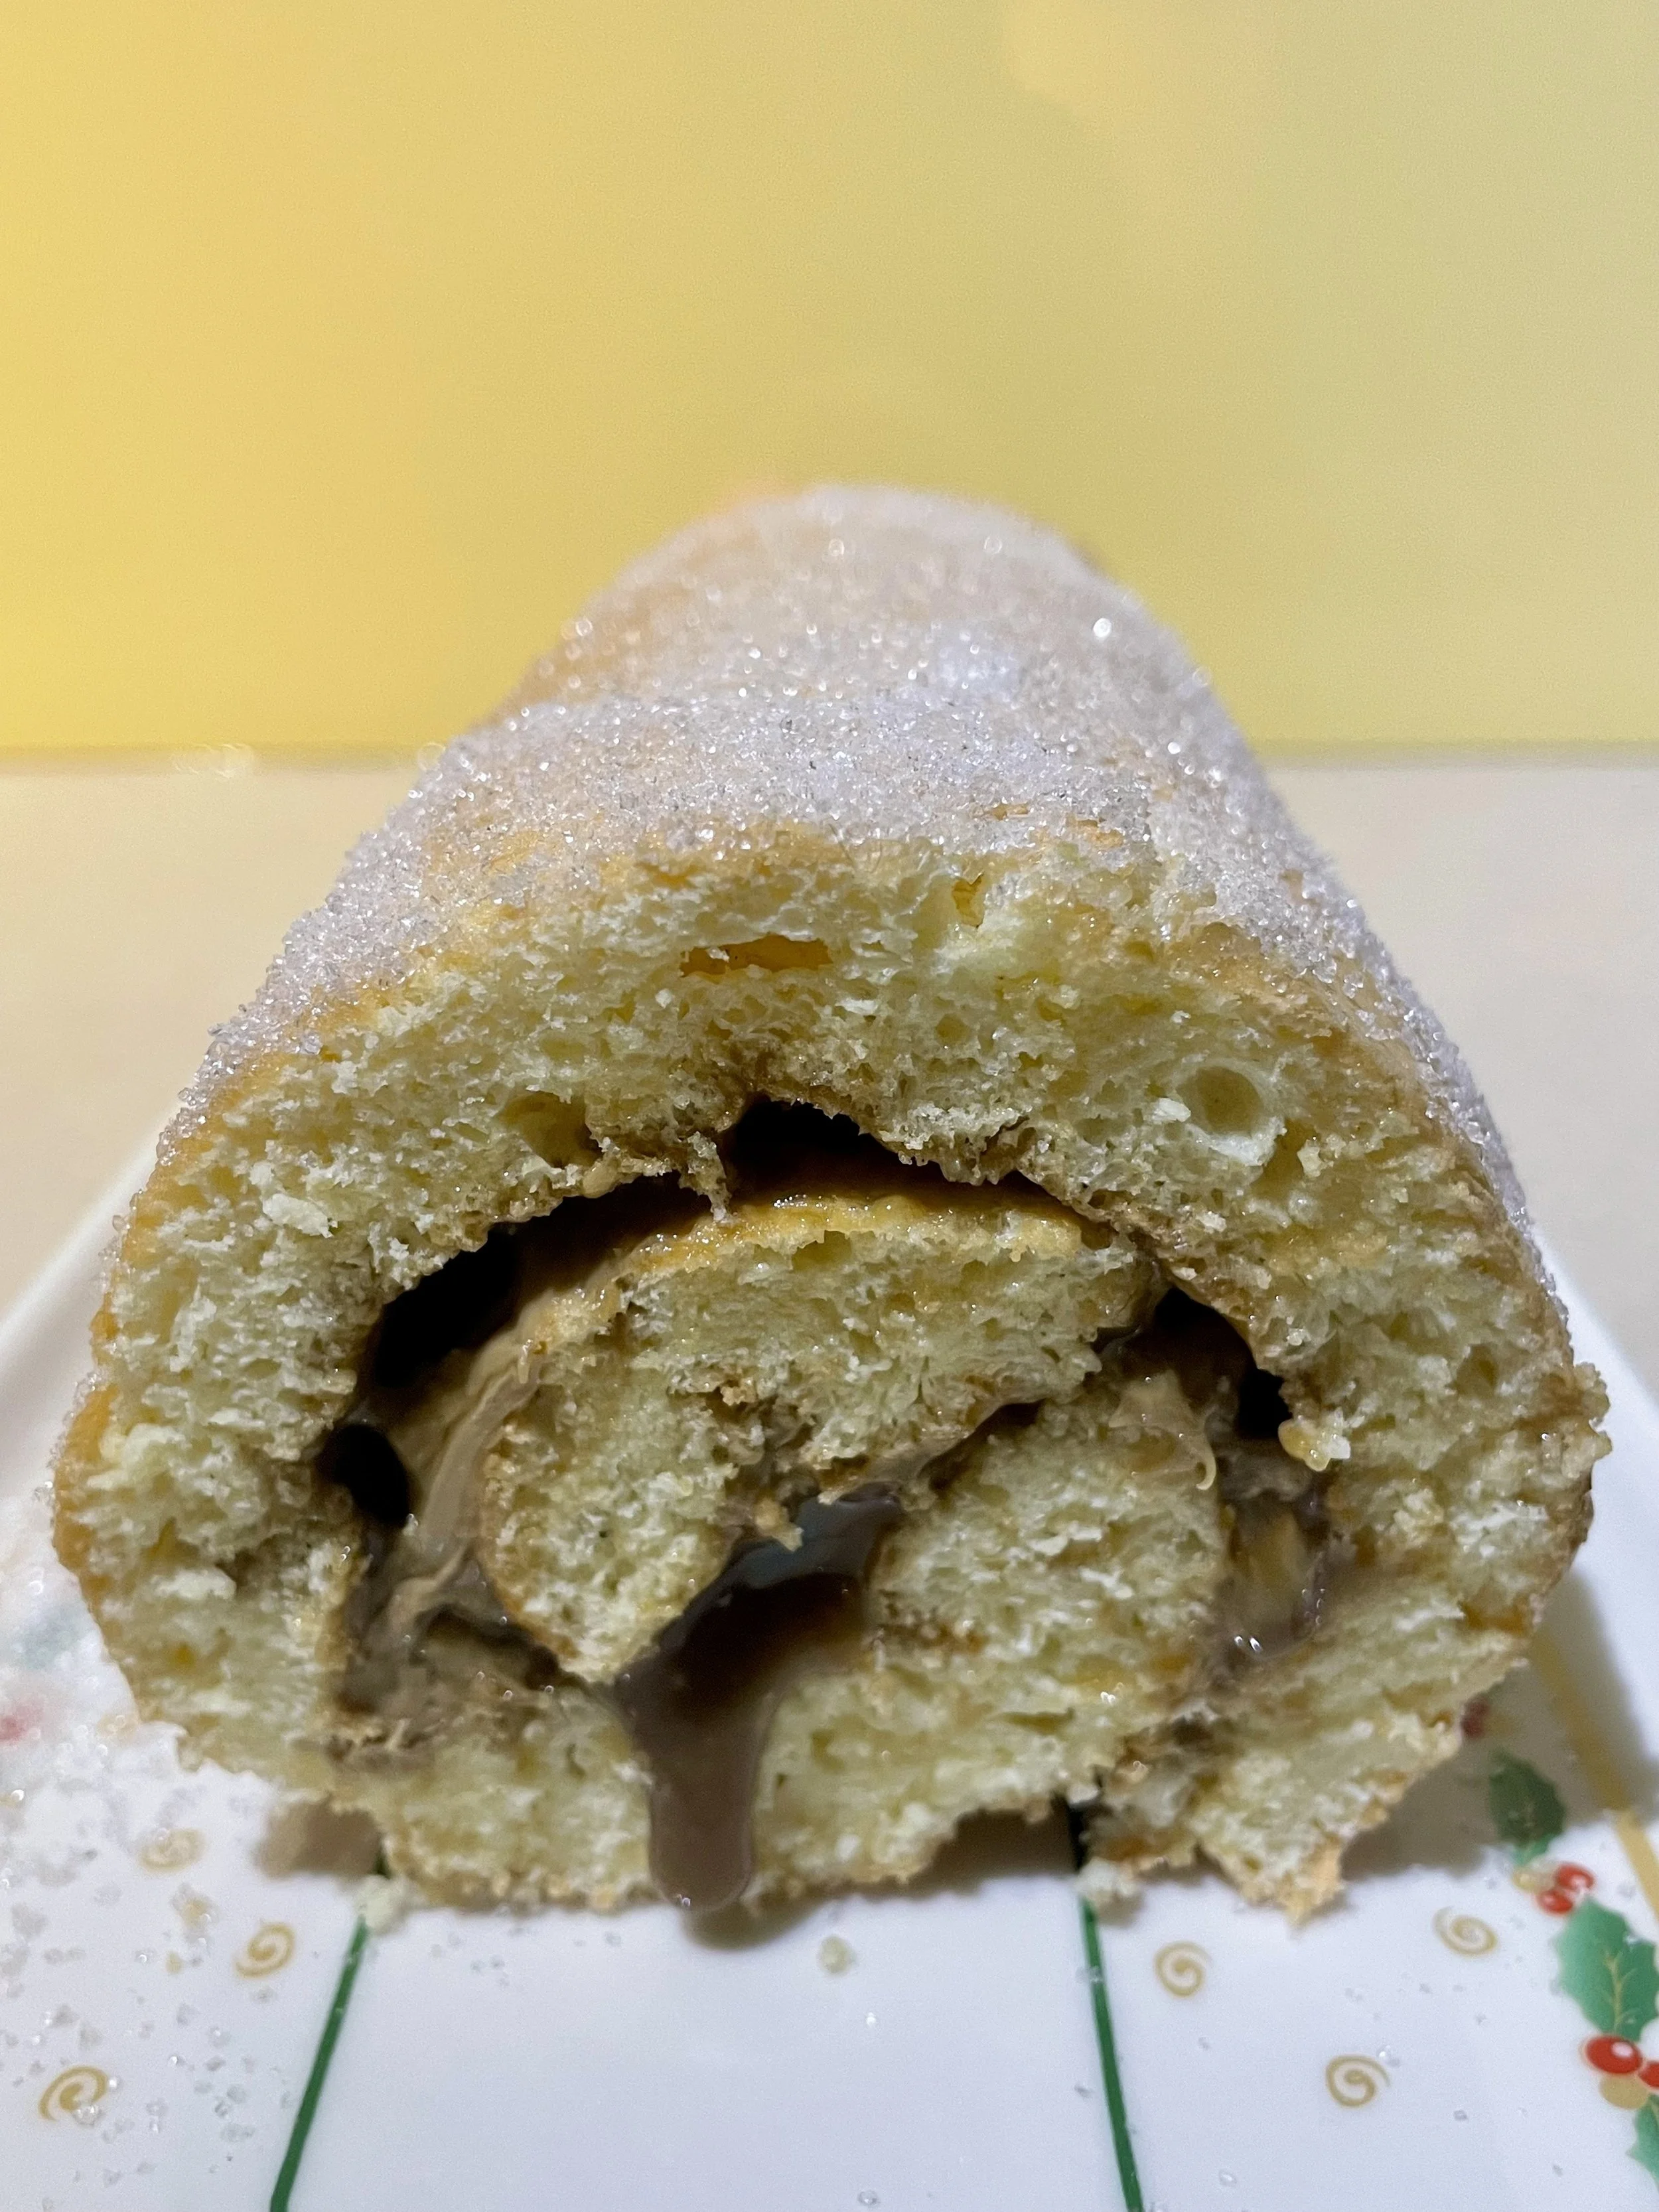
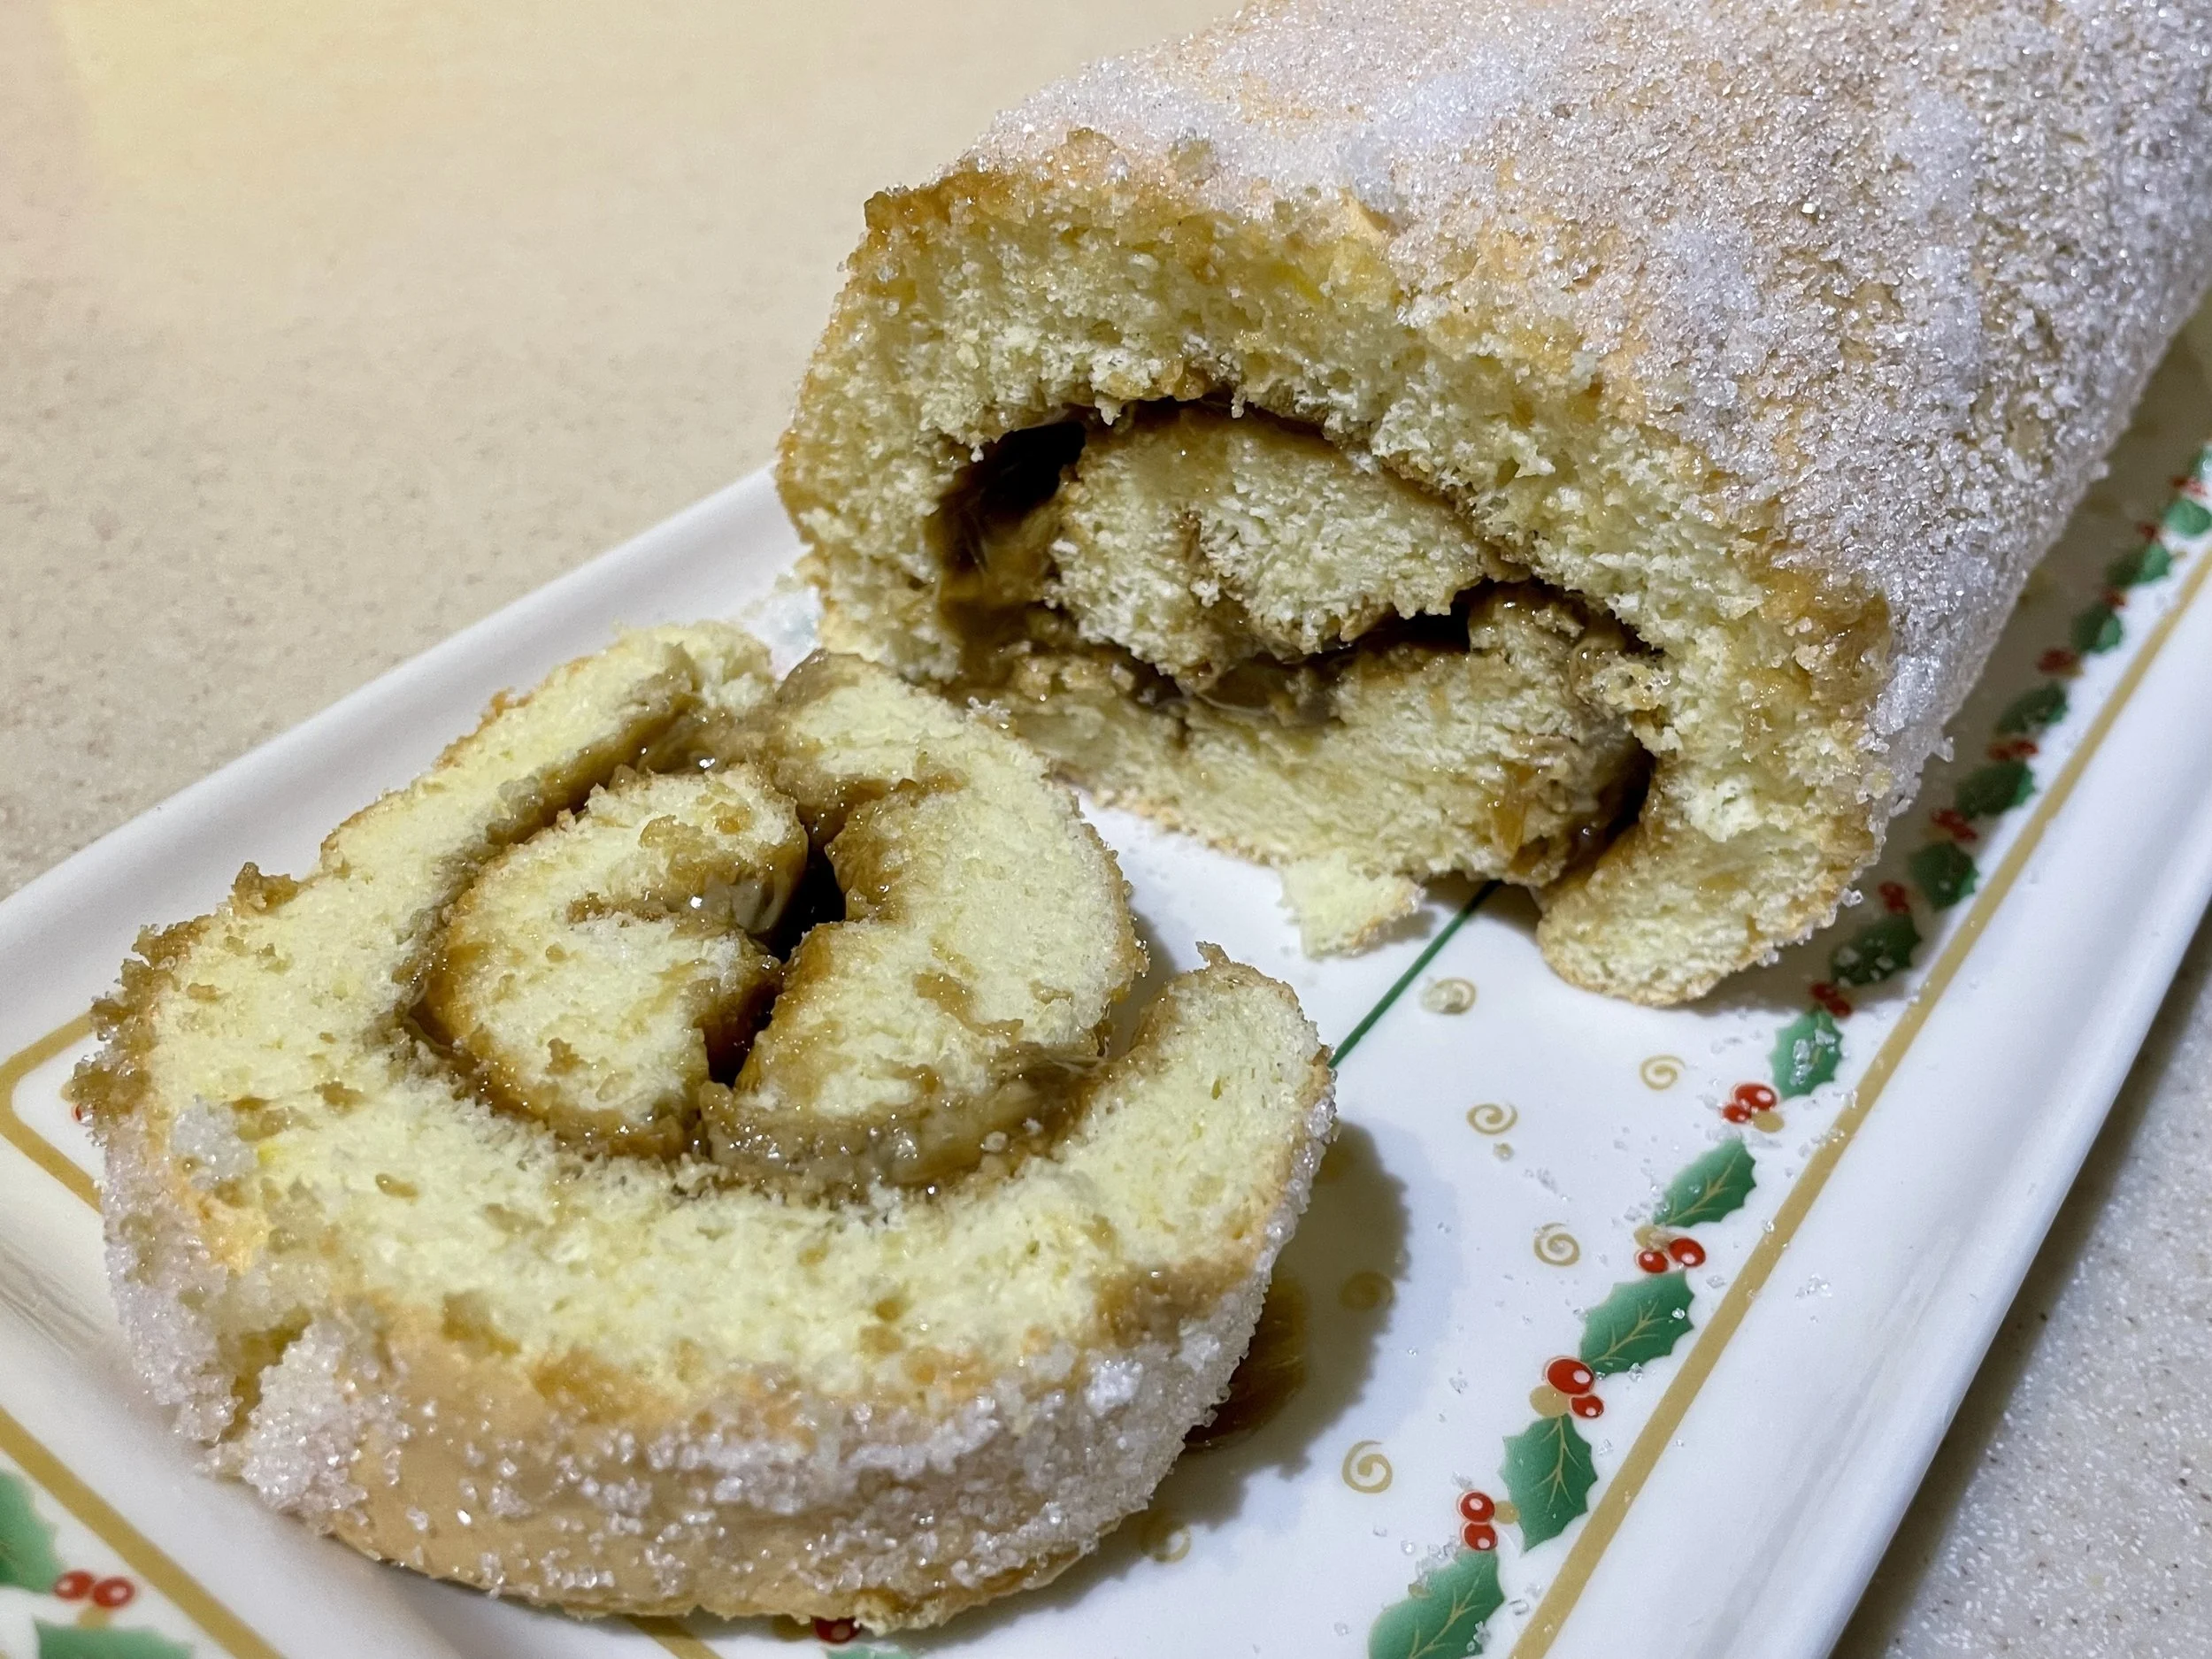
Swiss rolls are one of those wonderfully simple cakes that come together with very little effort. When time is short and you do not fancy getting the kitchen scales out, this recipe is often the answer, whether for an afternoon tea treat or the end of a special meal.
When we were children, my mother would often fill hers with chocolate spread or, on special occasions, the more traditional strawberry jam. Those versions still bring back fond memories, although these days one of our favourite fillings is pistachio spread.
The swirl may not look particularly impressive, as the layer of pistachio is deliberately thin, but appearances can be deceiving. Pistachio spread is incredibly rich, and a little goes a very long way. We often serve this version at the end of a celebratory meal, accompanied by a special tequila that was a gift from a dear friend. It may sound like an unlikely pairing, but the nutty richness of the pistachio marries surprisingly well with the notes of the tequila.
Whether you choose pistachio, chocolate, jam or another filling altogether, this is the sort of cake that disappears remarkably quickly once sliced. Enjoy it with a cup of tea, a small glass of something special, and good company.
Serves 8-12
Ingredients
This recipe does not require a measuring up the ingredients with a scale.
6 large eggs, separated
6 tablespoons caster sugar
6 tablespoons self-raising flour (or plain flour plus 1 teaspoon of baking powder)
Optional: a pinch of cream of tartar to help stabilise the egg whites
2 or 3 tablespoons granulated sugar
For the filling: Pistachio paste (or a mix of pistachio butter and cream in equal parts).
Optional to serve: fruit salad, cream or yoghurt
Equipment
2 large mixing bowls
Electric mixer
Spatula
20cm × 30cm Swiss roll tin (or similar shallow baking tray) lined with non-stick baking parchment (if you cannot find this type of parchment, make sure to butter the parchment and sides of the tin)
Clean tea towel
Swiss roll serving plate
Method
1. Meanwhile, preheat the oven to 170°C fan or 190°C conventional.
2. In one of the large bowls, place the egg yolks and 4 tablespoons of caster sugar. Whisk on the highest speed for 10-15 minutes until the mixture is pale cream in colour, and the whisk attachments leave a ribbon when lifted from the batter. The mixture should have doubled in volume.
3. In a separate bowl, with clean whisk attachments, whisk the egg whites and the cream of tartar, if using, until stiff peaks form. With the mixer still running on high speed, gradually add the remaining caster sugar, one teaspoon at a time, to create a glossy meringue.
4. Gently mix in the egg whites into the yolk mixture, alternating with the flour and taking care not to lose too much volume. I usually do this in 4 additions.
5. Pour the mixture into the prepared tin and bake for 15-20 minutes, or until lightly golden brown and springy to the touch. Meanwhile, lay the tea towel on a flat work surface and sprinkle the granulated sugar over an area roughly the same size as the tin.
6. While still warm, turn the sponge out onto the sugared tea towel and carefully peel away the baking parchment. Carefully roll the sponge up, starting from one of the shorter sides, and using the tea towel to help shape it. Leave to cool to room temperature while wrapped in the tea towel.
7. Once the sponge has cooled to room temperature, gently unroll it, spread over your chosen filling and roll it up again. It is ready to be enjoyed on its own or with a cup of tea.
Tips:
Don't be tempted to fill the Swiss roll while it is still warm, or the filling may melt.
You may have noticed that the pistachio layer is relatively thin. This is intentional, as pistachio paste is very rich. Too much of it can make the Swiss roll overly sweet and heavy.
Alternative fillings include strawberry or raspberry jam, chocolate spread, lemon curd, or even a simple fruit-flavoured Greek yoghurt.
Have You Tried This Recipe? How did it go?
I'd love to know how it turned out. Your comments help me improve the recipes, timings and instructions while this website is still in construction. Click to share your experience