
The Much-Requested Chocolate Tart
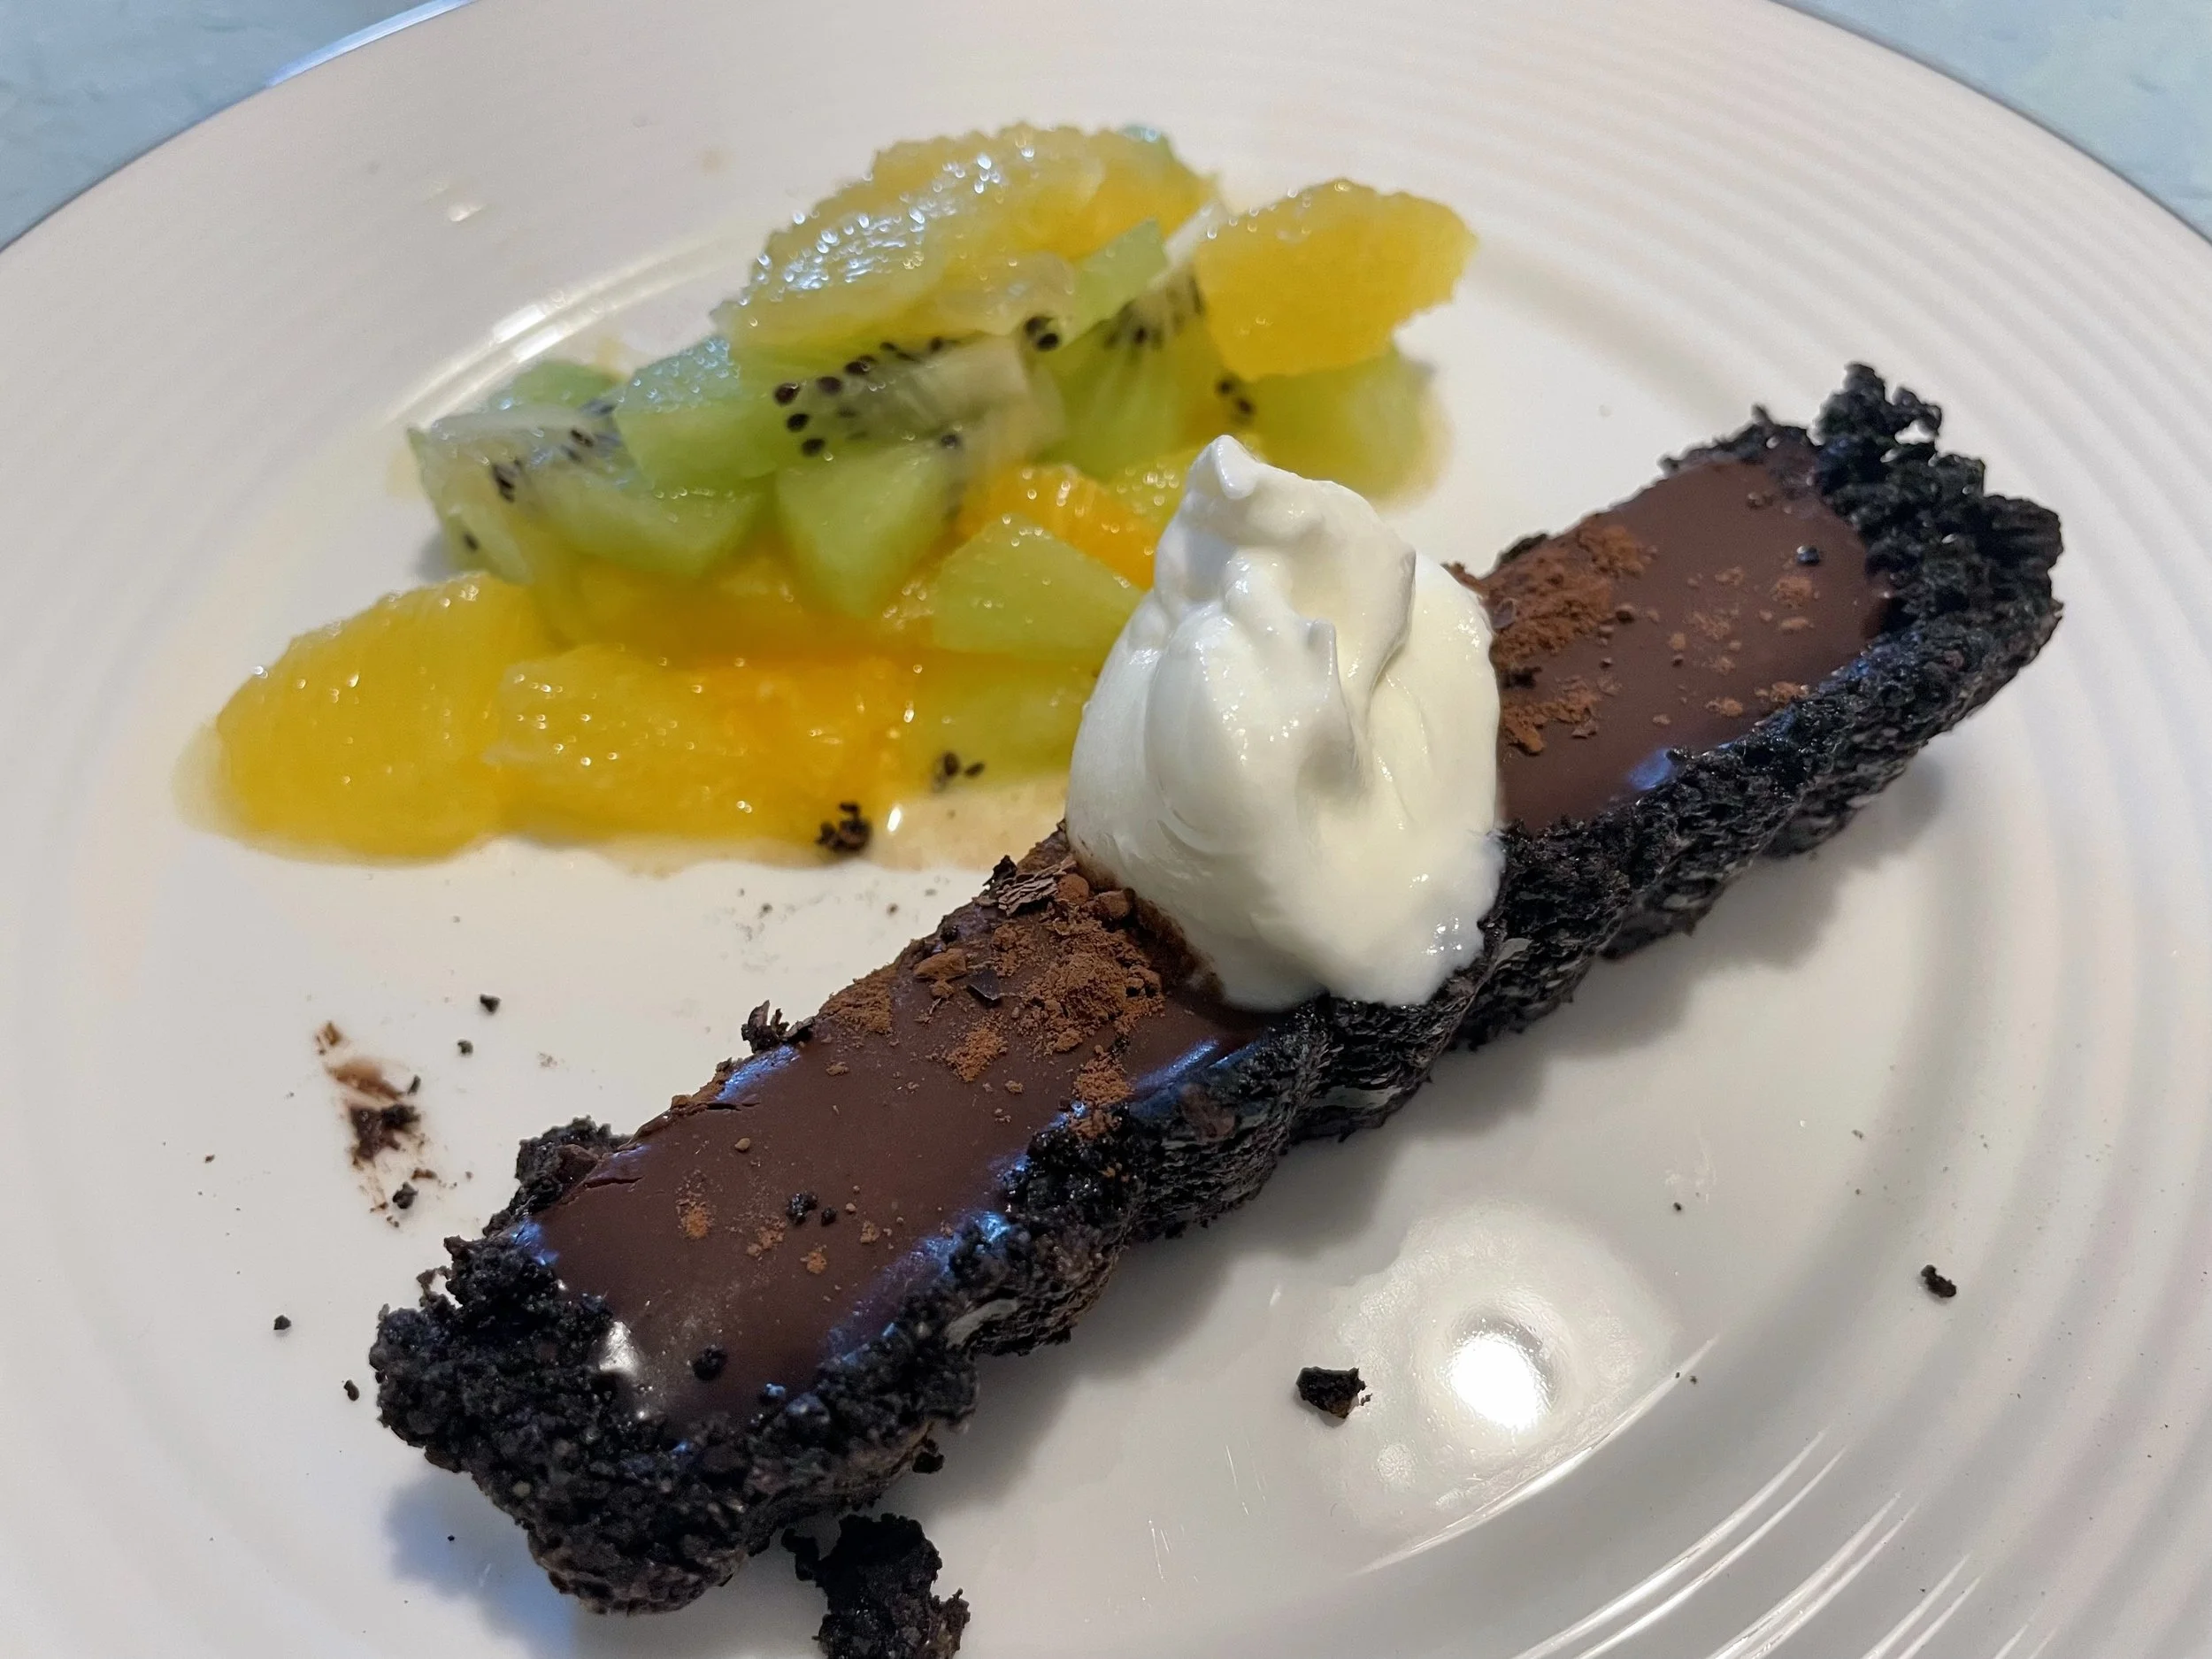
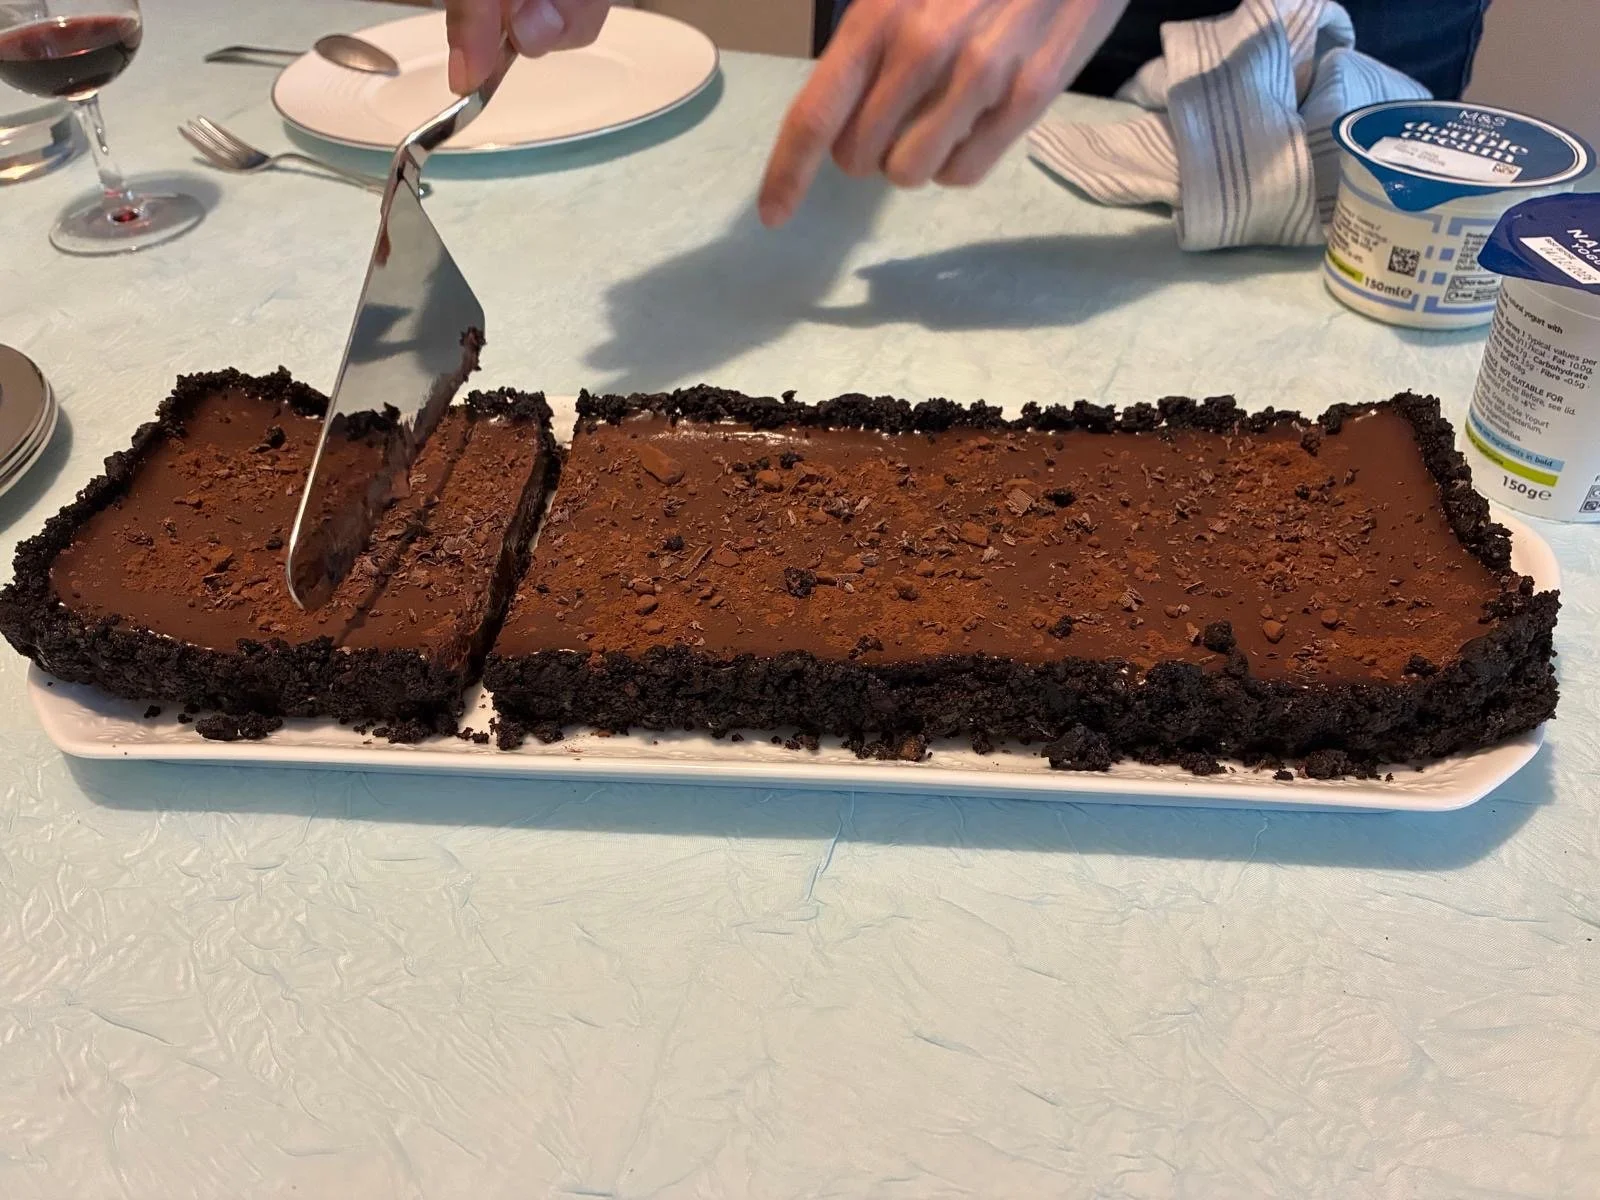
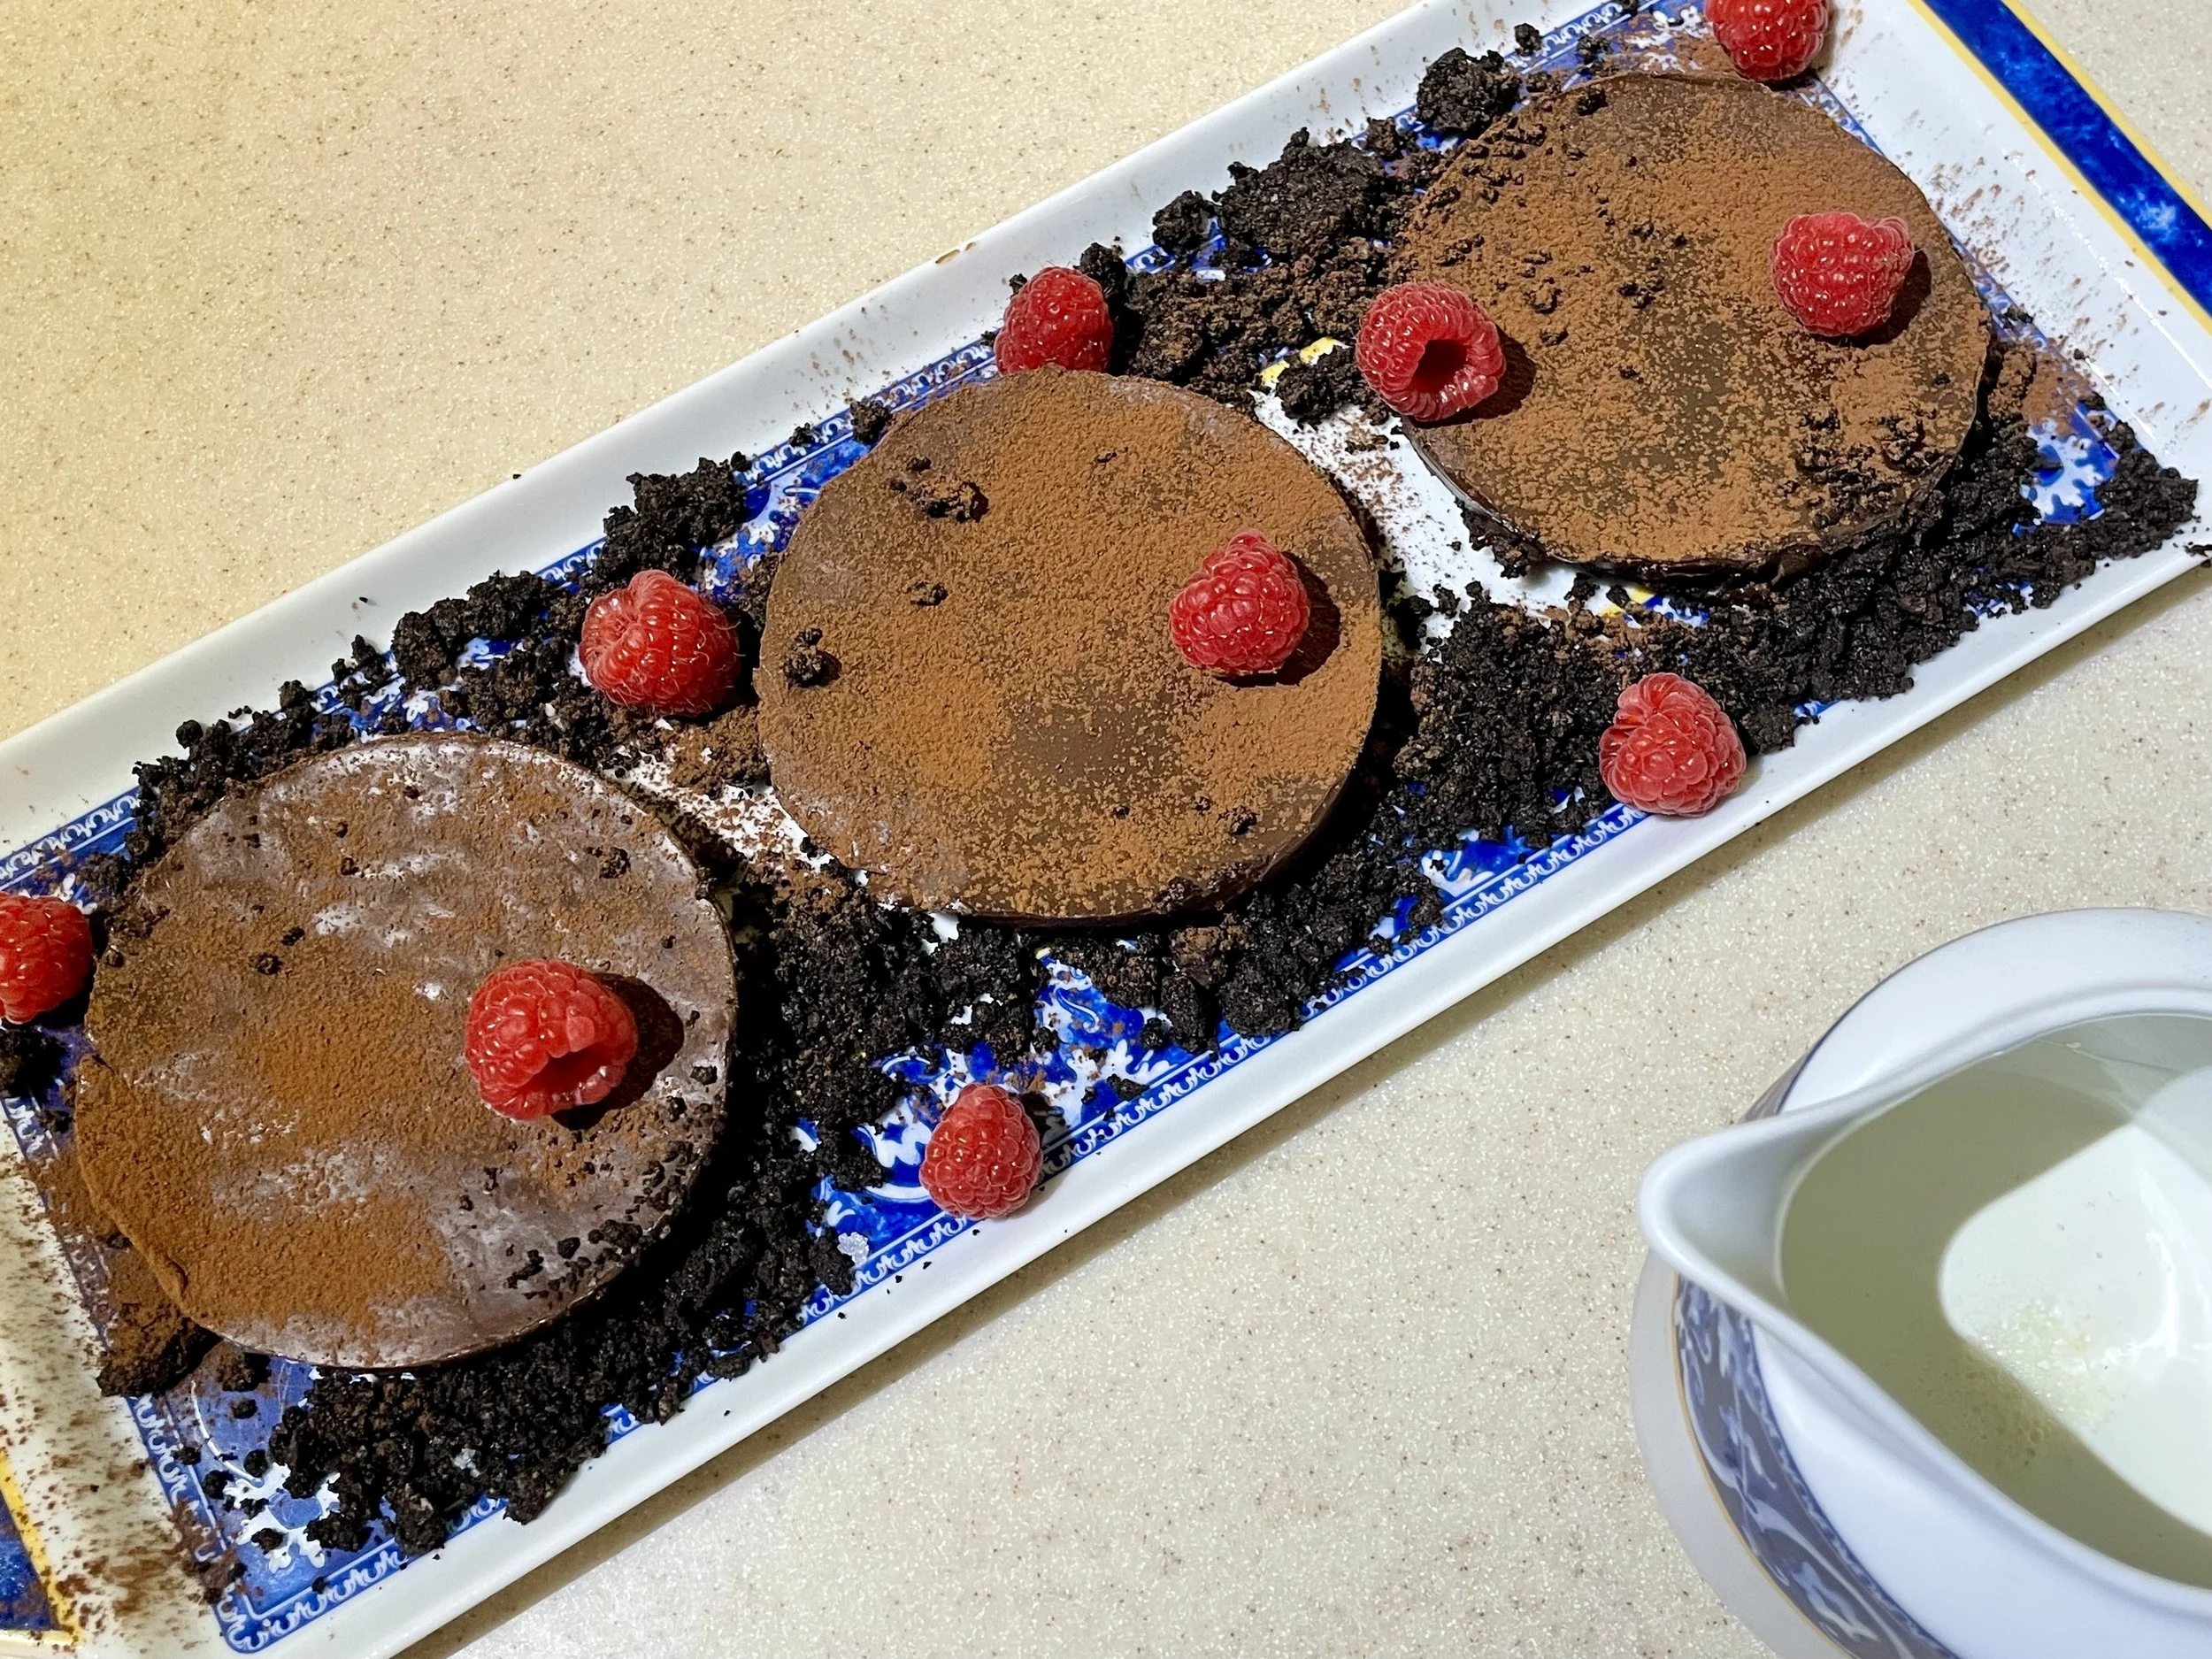
A chocolate tart is always a favourite of friends and family, and this one is no exception. Despite appearances and number of steps, this recipe is not complicated and can be done in advance. The tart has a no-baking biscuit base and a chocolate ganache, but it has a few tweaks that make all the difference: a pinch of sea salt and coffee. Neither is noticeable on its own, yet together they deepen and enhance the chocolate flavour, making the tart truly special.
I usually make the full quantity and freeze part of it for another occasion. The last time I prepared it, I transported it frozen to a lunch gathering at a friend's house. By the time dessert was served, it had thawed perfectly and reached exactly the right texture and temperature.
This is undoubtedly a rich dessert and, although some of my friends would disagree, a small slice is usually more than enough. Serve it on its own, or accompany it with yoghurt, cream or fresh fruit for a little contrast. Effortless to make yet wonderfully indulgent, this is the sort of tart that friends and family asking for the recipe before the meal is over.
Serves 8-12
Ingredients
Tart shell
About 300 gr of chocolate digestive biscuits or Oreo biscuits (2 packs)
50 gr of dark chocolate (in Portugal, I use Pantagruel 70% dark chocolate sweetened with stevia, but any dark or even milk chocolate will work)
50 gr unsalted butter
½ teaspoon coarse sea salt (optional, but highly recommended)
Filling
25 gr cornflour
600 ml single cream
100 gr 70% dark chocolate, broken into squares to help it melt more easily (I use the same chocolate as in the base, but this is entirely optional)
50 gr good-quality cocoa powder
75 gr caster sugar
2 generously heaped tablespoons instant coffee
2 tablespoons good-quality extra virgin olive oil
½ teaspoon coarse sea salt (optional, but highly recommended)
Serving Suggestions
Crème fraiche, yoghurt, raspberries or fruit salad
Some cocoa powder or chocolate crumbs to decorate
Equipment
Food processor
Medium mixing bowl
Small saucepan
28-30cm tart tin with a removable base for a large tart that uses all the filling. If you only have a 23cm tart tin, use only 2/3 of the filling or make additional individual tarts
Small bowl
Medium saucepan with a wide base
Optional: small sieve to sift the corn flour and cocoa powder, which enables a no-lump tart!
Wooden spoon
Serving plate
Method
For the Tart Shell
1. Place the biscuits in the food processor and pulse until most of the biscuits resemble coarse sand. A few slightly larger crumbs are perfectly acceptable and will add texture to the finished base. Transfer the crushed biscuits to the bowl. If using a small food processor, you may need to repeat this step a few times. I usually process the biscuits in four batches.
2. Place the chocolate broken down in a few pieces and pulse until finally chopped.
3. Meanwhile, place the butter in the small saucepan. Bring the pan to a low heat (setting 2 or 3 in an induction or electric hob) just to melt the butter without bubbling or browning it.
4. In the medium bowl, combine the crushed biscuits, chopped chocolate, salt if using, and melted butter.
5. Transfer the mixture to the tart tin and, using a tablespoon or your fingers, press it evenly across the base and up the sides of the tin. The biscuit layer should be relatively thin, approximately 3-5 mm thick.
6. Transfer the base to the fridge for 1 to 2 hours to allow the base to set before adding the filling. The tart base can also be frozen for later use at this stage.
For the Filling
7. Mix the cornflour with 50 ml of the cream until completely smooth and free from lumps. Set aside.
8. Place all the remaining filling ingredients, except the cornflour mixture, in the saucepan and cook gently over a low heat (setting 2 out of 9 in an induction or electric hob). Stir regularly, taking care not to incorporate too much air, while ensuring the cocoa and chocolate dissolve completely without any lumps.
9. Once the chocolate has melted, remove the pan from the heat and stir in the cornflour mixture. Return the saucepan to a low heat (setting 2 out of 9) and cook gently, stirring regularly, until the mixture thickens to the consistency of a thick custard or porridge. Important: do not allow it to boil. This usually takes about 15 minutes.
10. Remove from the heat and allow the filling to cool to room temperature. This prevents the warmth of the filling from softening the biscuit base. Pour the filling into the chilled tart shell and smooth the surface. Refrigerate for at least 4 hours, preferably overnight. The tart can also be frozen at this stage.
Serving
11. Remove the tart from the refrigerator about 10 minutes before serving. If frozen, take it out of the freezer 2-3 hours before serving.
12. The tart is quite crumbly, so unmould it while still well chilled. Carefully remove the sides of the tart tin and, if preferred, leave the tart on its base for easier serving.
13. Serve in small slices, as the tart is extremely rich. A spoonful of crème fraîche, or yoghurt, together with a few raspberries or fruit salad, provides a welcome contrast to the intense chocolate flavour.
Tips:
For a different tart shape, I used a rectangular tin 33 cm x 10 cm. With the full ingredient quantities, I still had enough filling for 3 10cm additional individual tarts.
When I do not have instant coffee at hand, I use 2 shots of freshly brewed expresso coffee (50-60 ml) and reduce the amount of cream.
For a more pronounced coffee flavour, replace part or the total cocoa powder with the equivalent weight of instant coffee.
Have You Tried This Recipe? How did it go?
I'd love to know how it turned out. Your comments help me improve the recipes, timings and instructions while this website is still in construction. Click to share your experience